
In most real-world applications, you often need an Angular Material Table to display data. like users, products, or orders.
Instead of building everything from scratch, Angular Material provides a ready-made table with powerful features.
In this guide, you’ll learn how to create an Angular Material Table with pagination, sorting, and search filtering all step by step, perfect for Angular developers.
In this guide, you’ll learn how to:
- Create an Angular Material table
- Add pagination (page-wise data)
- Enable sorting (ascending/descending)
- Add search filtering
Don’t worry we’ll keep everything simple and step-by-step
Prerequisites
Before starting, make sure you have:
- Basic knowledge of Angular
- Angular 16 CLI installed
- A new Angular project created
If you haven’t created an Angular project yet, follow this guide first:
Learn Angular for Beginners in 2026: Complete Step-by-Step Guide
Add Angular Material
Install Angular Material if not already:
ng add @angular/material- Pick a theme (e.g., Azure/Blue)
- Include global typography and animations
What We Are Going to Build
We’ll create a Product Table with these features:
- Display a list of products (Laptop, Mobile, Tablet, etc.)
- Pagination (split data into pages)
- Sorting (click column headers to sort by ID, Name, or Price)
- Search/Filter (search box to quickly find products)
By the end, your table will be:
- Easy to read
- Sortable by columns
- Searchable
- Paginated for performance
Step 1: Import Angular Material Modules
NgModule Setup (older Angular projects)
Open src/app/app.module.ts:
import { BrowserModule } from '@angular/platform-browser';
import { NgModule } from '@angular/core';
import { BrowserAnimationsModule } from '@angular/platform-browser/animations';
import { FormsModule } from '@angular/forms';

// Angular Material Modules
import { MatTableModule } from '@angular/material/table';
import { MatPaginatorModule } from '@angular/material/paginator';
import { MatSortModule } from '@angular/material/sort';
import { MatInputModule } from '@angular/material/input';

import { AppComponent } from './app.component';

@NgModule({
  declarations: [AppComponent],
  imports: [
    BrowserModule,
    BrowserAnimationsModule,
    FormsModule,
    MatTableModule,
    MatPaginatorModule,
    MatSortModule,
    MatInputModule
  ],
  bootstrap: [AppComponent]
})
export class AppModule {}
Explanation:
MatTableModule→ lets you create tablesMatPaginatorModule→ adds paginationMatSortModule→ enables sortingMatInputModule→ creates the search boxFormsModule→ needed for search input binding
Standalone Setup (Angular 16+)
If you used standalone setup then import angular material module in main.ts file.
Open src/main.ts:
main.ts file:
import { bootstrapApplication } from '@angular/platform-browser';
import { provideAnimations } from '@angular/platform-browser/animations';
import { importProvidersFrom } from '@angular/core';
import { AppComponent } from './app/app.component';

import { MatTableModule } from '@angular/material/table';
import { MatPaginatorModule } from '@angular/material/paginator';
import { MatSortModule } from '@angular/material/sort';
import { MatInputModule } from '@angular/material/input';
import { FormsModule } from '@angular/forms';

bootstrapApplication(AppComponent, {
  providers: [
    provideAnimations(),
    importProvidersFrom(
      MatTableModule,
      MatPaginatorModule,
      MatSortModule,
      MatInputModule,
      FormsModule
    )
  ]
});
Step 2: Component Logic
Open src/app/app.component.ts and replace it with:
app.component.ts file :
import { Component, ViewChild, AfterViewInit } from '@angular/core';
import { MatPaginator } from '@angular/material/paginator';
import { MatSort } from '@angular/material/sort';
import { MatTableDataSource } from '@angular/material/table';

// Product interface
export interface Product {
  id: number;
  name: string;
  price: number;
}

// Sample data
const PRODUCT_DATA: Product[] = [
  { id: 1, name: 'Laptop', price: 1200 },
  { id: 2, name: 'Mobile', price: 800 },
  { id: 3, name: 'Tablet', price: 500 },
  { id: 4, name: 'Headphones', price: 150 },
  { id: 5, name: 'Smartwatch', price: 200 },
  { id: 6, name: 'Monitor', price: 400 },
  { id: 7, name: 'Keyboard', price: 50 },
  { id: 8, name: 'Mouse', price: 30 },
  { id: 9, name: 'Printer', price: 250 },
  { id: 10, name: 'Camera', price: 600 },
  { id: 11, name: 'Speaker', price: 180 },
  { id: 12, name: 'Router', price: 120 },
  { id: 13, name: 'External Hard Drive', price: 100 },
  { id: 14, name: 'Microphone', price: 90 },
  { id: 15, name: 'Projector', price: 700 }
];

@Component({
  selector: 'app-root',
  templateUrl: './app.component.html',
  styleUrls: ['./app.component.css']
})
export class AppComponent implements AfterViewInit {
  displayedColumns: string[] = ['id', 'name', 'price'];
  dataSource = new MatTableDataSource<Product>(PRODUCT_DATA);

  @ViewChild(MatPaginator) paginator!: MatPaginator;
  @ViewChild(MatSort) sort!: MatSort;

  ngAfterViewInit() {
    this.dataSource.paginator = this.paginator;
    this.dataSource.sort = this.sort;
  }

  applyFilter(event: Event) {
    const filterValue = (event.target as HTMLInputElement).value;
    this.dataSource.filter = filterValue.trim().toLowerCase();
  }
}Step 3: Create the Table in HTML (Template)
Replace src/app/app.component.html with:
app.component.html file :
<div style="margin:20px;">
  <h2 class="title-primary">Product Table</h2>

  <!-- Search Box -->
  <mat-form-field appearance="outline" color="accent" class="search-box">
    <mat-label>Search Products</mat-label>
    <input matInput (keyup)="applyFilter($event)" placeholder="Type to search">
  </mat-form-field>

  <!-- Table -->
  <table mat-table [dataSource]="dataSource" matSort class="mat-elevation-z8 colorful-table">

    <!-- ID Column -->
    <ng-container matColumnDef="id">
      <th mat-header-cell *matHeaderCellDef mat-sort-header class="header-blue">ID</th>
      <td mat-cell *matCellDef="let element">{{element.id}}</td>
    </ng-container>

    <!-- Name Column -->
    <ng-container matColumnDef="name">
      <th mat-header-cell *matHeaderCellDef mat-sort-header class="header-pink">Name</th>
      <td mat-cell *matCellDef="let element">{{element.name}}</td>
    </ng-container>

    <!-- Price Column -->
    <ng-container matColumnDef="price">
      <th mat-header-cell *matHeaderCellDef mat-sort-header class="header-red">Price ($)</th>
      <td mat-cell *matCellDef="let element">{{element.price}}</td>
    </ng-container>

    <tr mat-header-row *matHeaderRowDef="displayedColumns"></tr>
    <tr mat-row *matRowDef="let row; columns: displayedColumns;"></tr>
  </table>

  <!-- Pagination -->
  <mat-paginator [pageSizeOptions]="[2, 5, 10]" showFirstLastButtons color="primary"></mat-paginator>
</div>
Features included:
- Search box for filtering
- Columns sortable by clicking headers
- Pagination for easier viewing of large tables
Step 4: Run the Project
Now Run the project using given command.
ng serve --openYou’ll see a fully functional Product Table with:
- A fully functional product table
- Search/filter capability
- Pagination
- Sorting by column headers
You can see the final output:

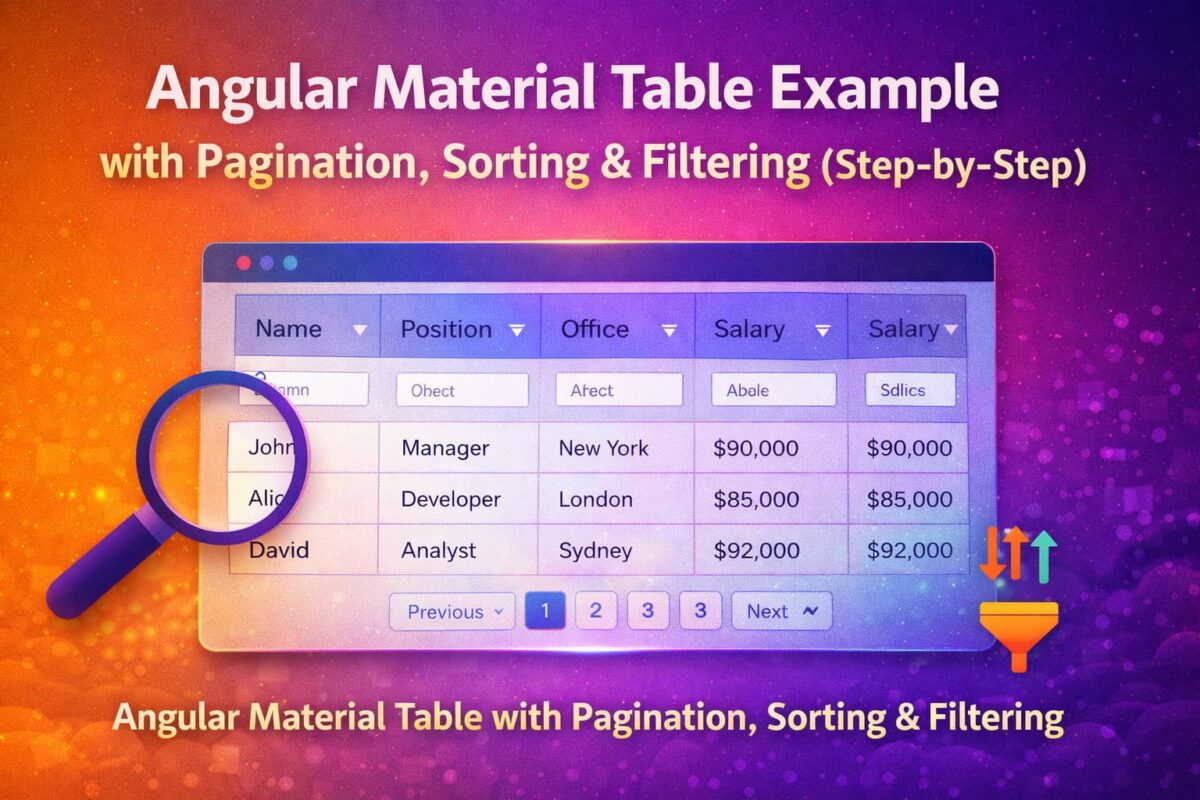
A fully functional Angular Material table with headers, sortable columns, search filter, and pagination.
Conclusion
In this guide, we built an Angular Material Table with pagination, sorting, and search filtering. By using Angular Material’s ready‑made components, we created a product table that is simple, efficient, and user‑friendly.
With these features, your table is:
- Paginated for better performance
- Sortable by column headers
- Searchable with a filter box
This foundation can be extended further — for example, connecting to APIs for dynamic data or adding custom filters.
In short: Angular Material Table makes it easy to display and manage data in modern Angular applications.